
You have taken a shot of your product but it isn’t your best picture to put on social media for an ad. You have taken a selfie but it has some aesthetic issues in it. What would you do now?
Well, AI image editors are your friend in this case. We all have heard about AI generators but editors are the true heroes. They can save you from a lot of misery with just a few clicks.
They have a lot of Best ai for image modifier options and toolkits that can help you enhance and modify your images as you want.
You can sharpen them, add any element or delete any, enhance the quality of your pictures and much more. A small tutorial on the best AI for image modifiers will be helpful for you to understand them in detail.
Tutorial of Best AI for Image Modifier
There are a bunch of image editors and the best AI for image modifiers in the market. Among these, I am choosing the ZMO image editor for a tutorial. This AI tool uses advanced algorithms to perform different tasks. It is free to use and has a user-friendly interface. You don’t need to spend any money or time on using this tool as it is fast and efficient.
You can use it anywhere you want because it is available in app form on Android and iPhone. You can also use it on Mac and Browser. This tool is available for different tasks such as video generation, image generation, sketch generation, anime generation, AI avatar generation and marketing content generation. You can find different styles and categories of anime on this tool, making it an ideal choice for all those who want to generate anime characters or videos.
With it, Best ai for image modifier toolkit too. You can perform various image editing tasks on this platform. Some of these are:
- Removing objects from the background.
- Resizing the post according to social media preset templates.
- Changing the background.
- Adding new elements to the picture.
- Adding text in the image.
- Sharpening your blurry images.
- Swapping faces in your picture.
- Changing any aspect of your picture.
- Adding filters and effects in your images.
These are some of the tasks you can perform on this tool. A small tutorial on some of these aspects will give you a way to unleash the power of ZMO picture editing.
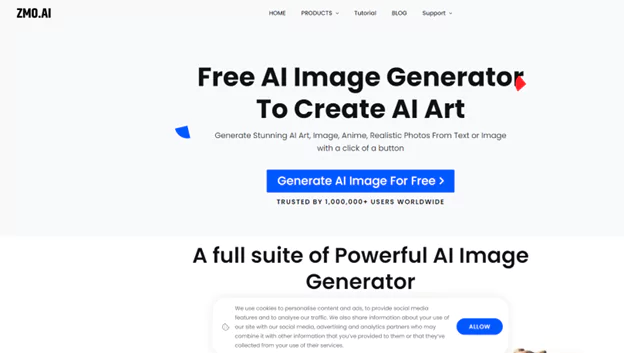
First of all, you need to search the ZMO website on Google. When the website comes, you need to sign up there.
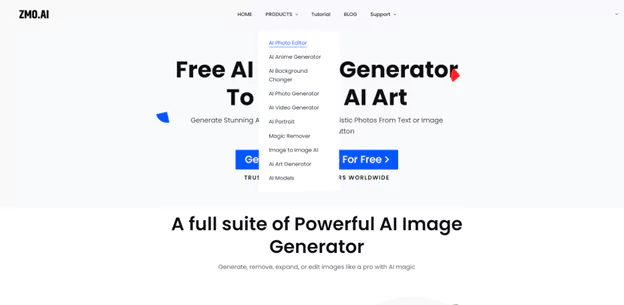
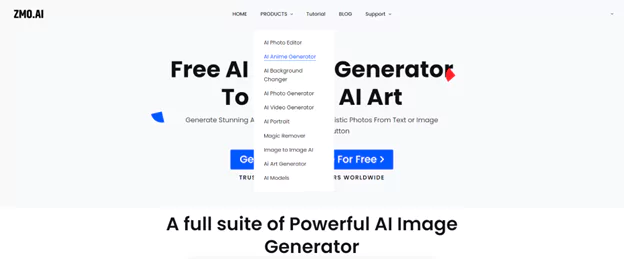
You can see Products on the top. You need to select it. A drop-down menu will come. You can see different products and features of ZMO in this list.

From this menu, you should choose an AI photo editor. It is the first one on the list.
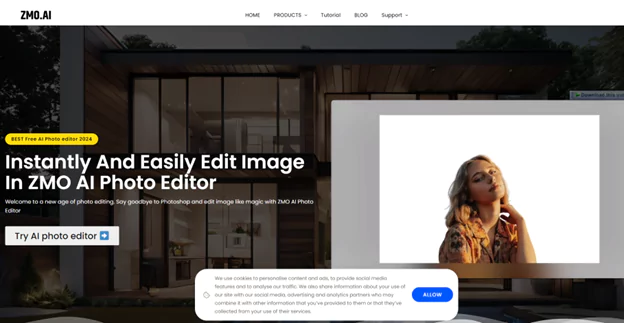
When you click on it, a new page will come up. On this page, you need to click on Try AI photo editor to get into the new page.
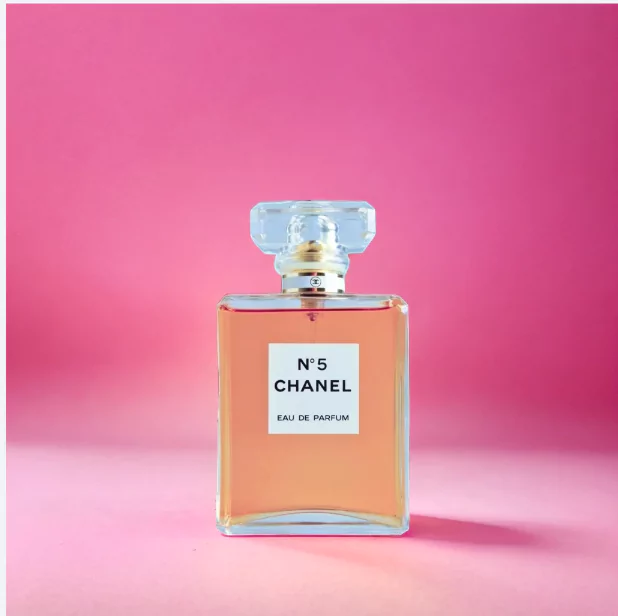
On this new page, you will be asked to upload a photo. Click on it to upload the picture from your device you want to enhance or edit.
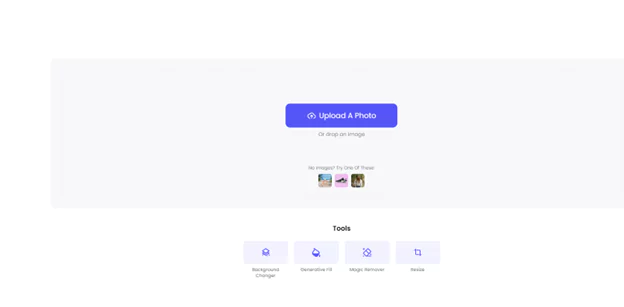
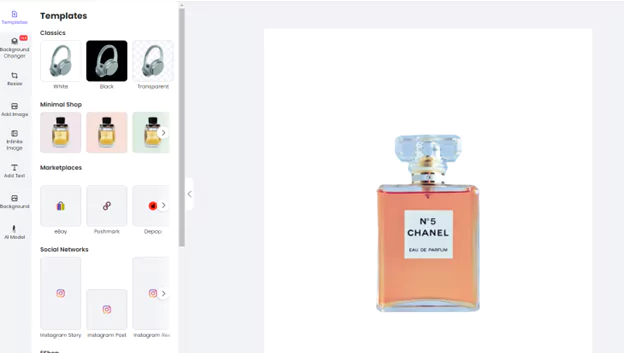
When you upload your picture, ZMO will automatically remove the background of your image. Now, it has provided you with a canvas on which you can do whatever you want. In the side panel, you can see different options for editing. You can choose any option you want to edit your photo as you wish.
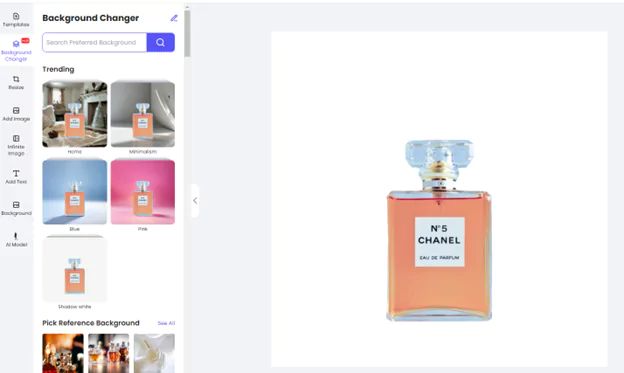
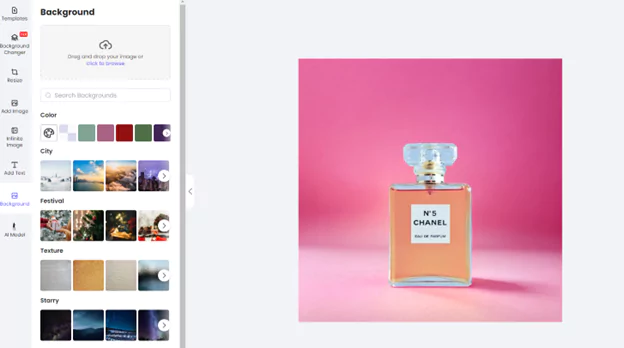
First of all, I will go to a background changer. It is the second one on the list. When you click on it, you can see different background options in the side panel. There is a “Trending” heading that contains different types of backgrounds that people generally love. So, you can choose any trending background for your image from this heading.
I chose a pink background from the Trending heading. You can see that ZMO has given me four different versions of the pink background. I can choose any of these as I wish. If I don’t like them, I can generate four more too. So, you can do the same until you get a satisfactory background.
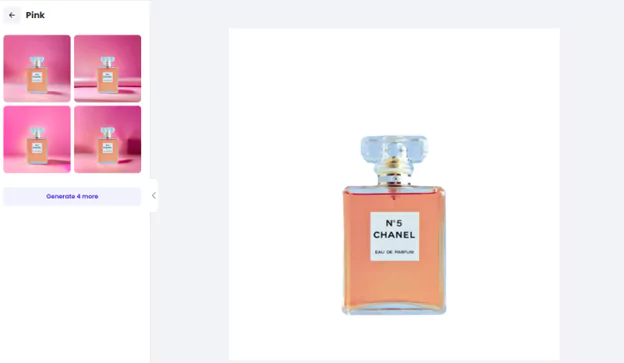
I chose the one and this is the result. Now, I can download and use it as I want.
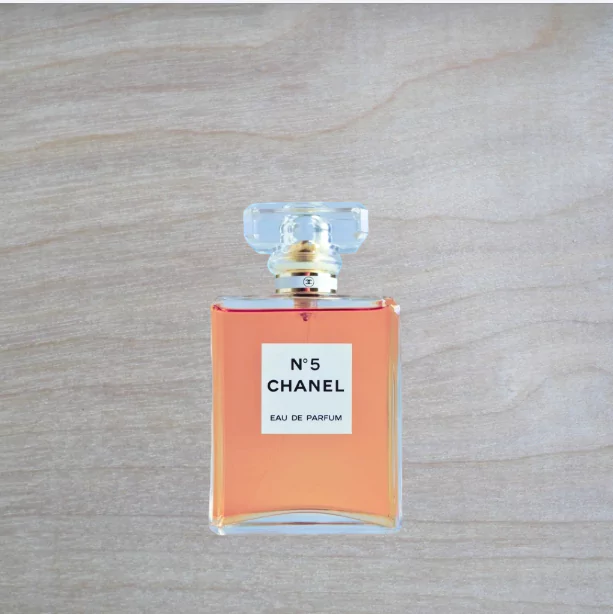
In case you don’t like these backgrounds, you can go to the other “Background” option present in the side panel. When you click on it, you can see different types of backgrounds. These are colors, cities, places, textures and much more. You can find almost every category of background here.
From the side panel of the background, I chose one of the texture backgrounds. You just need to click on it and ZMO will adjust the picture according to your product. My final product was:
You can also resize your picture according to any social media requirements. For this, you can see different social media sizing options in the social network option. You need to select any sizing option and it will resize the post according to it.
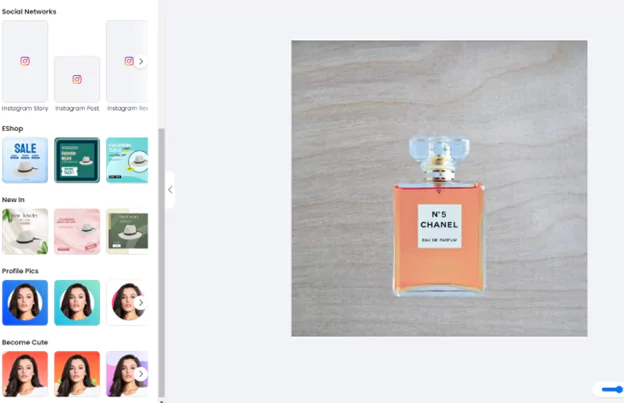
If you don’t like plain backgrounds and want to make them more attractive for your social media, you can go to the templates option. In this option, you can see different social media templates in the “eShop” and “New in ” categories. You can choose any template you want and ZMO will automatically adjust your product in the post. You don’t need to do any manual tasks here.

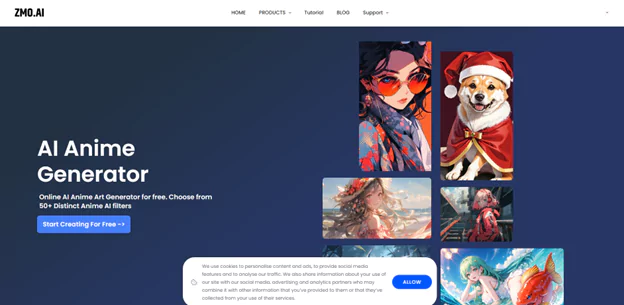
So, these are some of the aspects of the AI image editor of ZMO. But, what if you want to sharpen your blurry images? What if you want to enhance your existing image? Well, you can do it easily on ZMO too. For this, you need to go to an AI anime generator. In the Products, it is the second option in the list.
When you click on it, a new interface will come up. This new interface contains an option to Start Creating for free. You need to click on it to get to the new page.
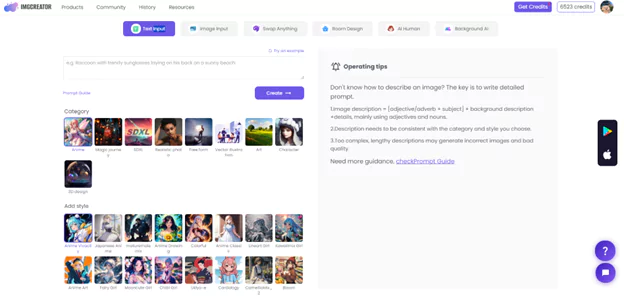
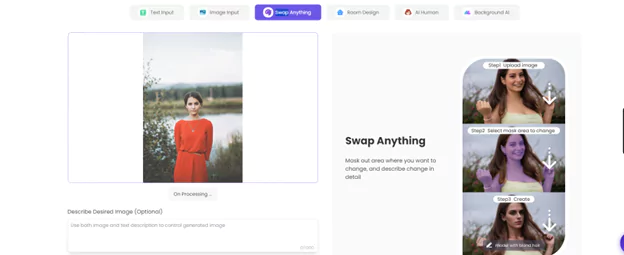
In this new page, you can see various categories and options. You can choose from these categories and options. You can see the “Swap anything” option in the upper menu. It is the third one on the list. You need to click on it.
A new page will come up where you need to upload your picture first. On the top, you need to click and it will ask you to upload your picture.
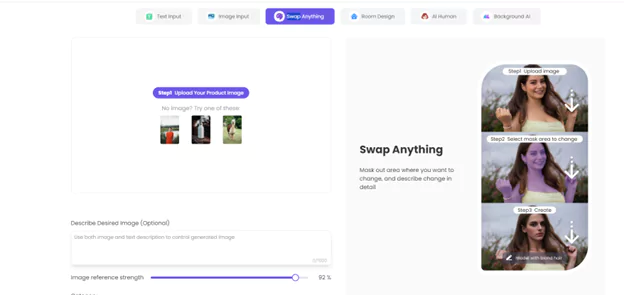
Now, your picture is uploaded so you need to get further with different settings.
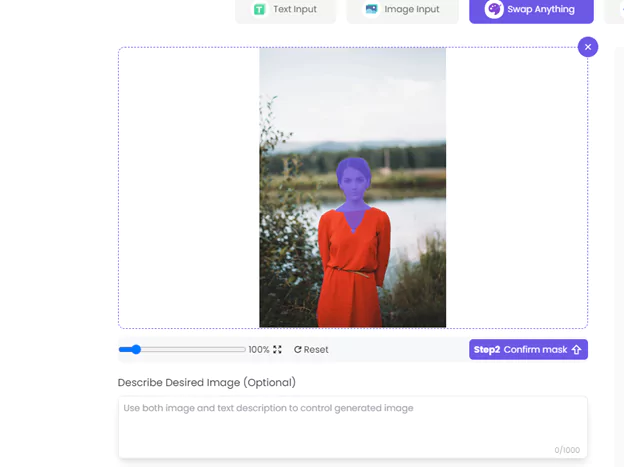
The first thing you need to do is to blue mask the area you want to modify. Here, I am blue masking the face because it is a bit blurry and I want to make it sharp. But, you can perform various other tasks too. If you want to change any aspect of your picture, for example changing your facial expressions or changing the background, you can also do it here.

After blue masking, you need to confirm the mask and write a prompt. In this prompt, you need to tell what changes you want.
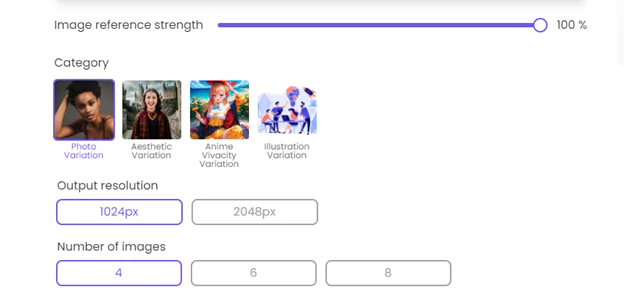
You need to increase your image reference strength to 100 percent. Moreover, there are small settings related to the number of images and resolution. You should also do those settings to get your desired results.
Now, you need to click on the “Create” button and it will start creating four different outputs.
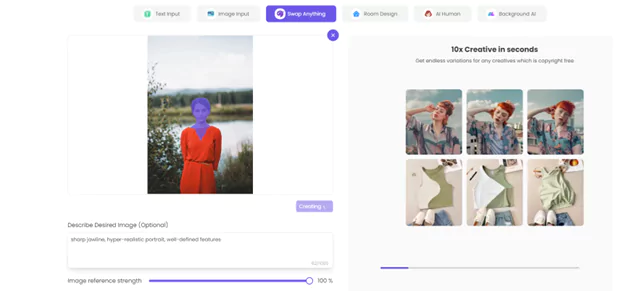
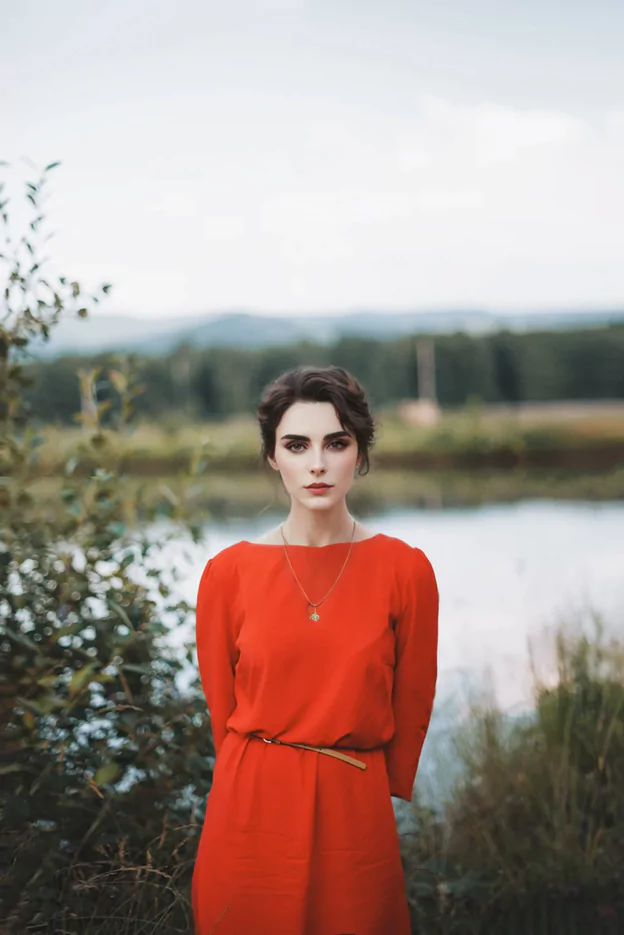
After a few seconds, you would get four outputs. If you are not satisfied with them, you can change your prompt a bit too and then again create.

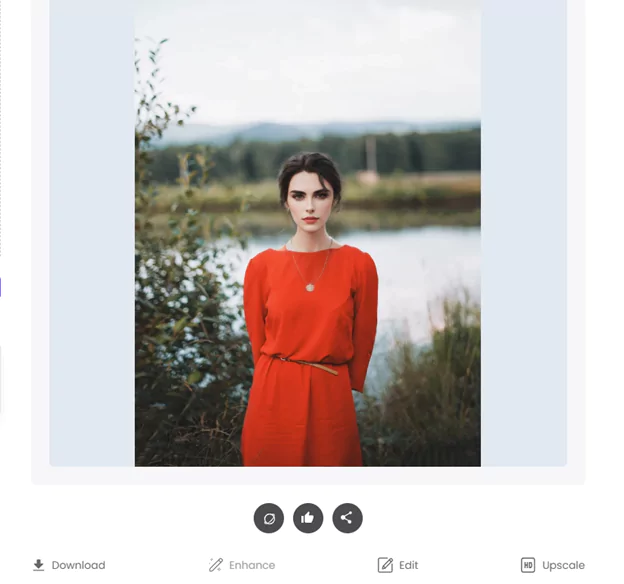
After getting satisfied, you need to download your favorite variation. For this, you need to click on it and you can see the download option underneath it. With it, you can see enhance, edit and upscale options too. If you want to make some manual changes, you can do it with the help of these options. In upscaling, you will get the HD version. In editing, it will take you to an AI image editor.
Now, after downloading, it will be saved in your gallery.
In short, you can do various types of editing tasks from ZMO.
Other AI tools for Image Enhancement
Adobe Photoshop
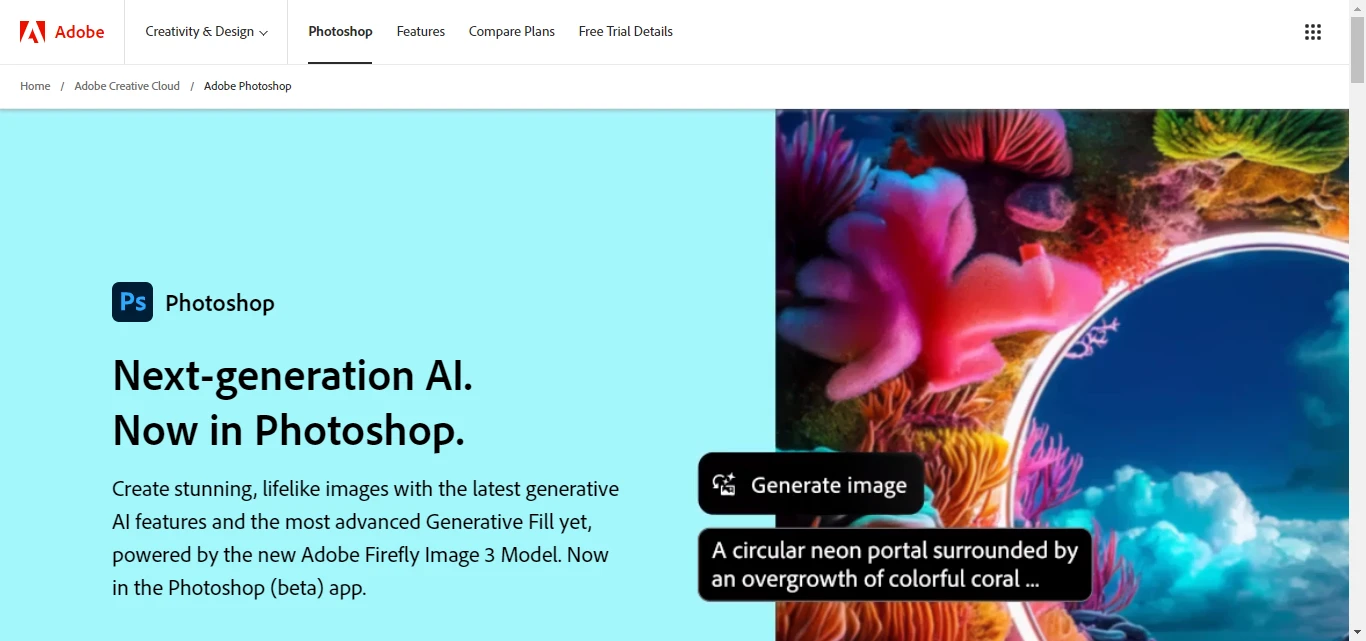
Adobe Photoshop is one of the best AI for image modifiers that gives you a lot of features. It was a software-based editing tool but now it is introducing different AI tools in it. Some of these AI tools are Remover, Generative fills, Generative Expands, Neural filters and much more. It is the best AI for image modifiers but it is never easy to learn this one. You need to spend time learning this tool.
Canva
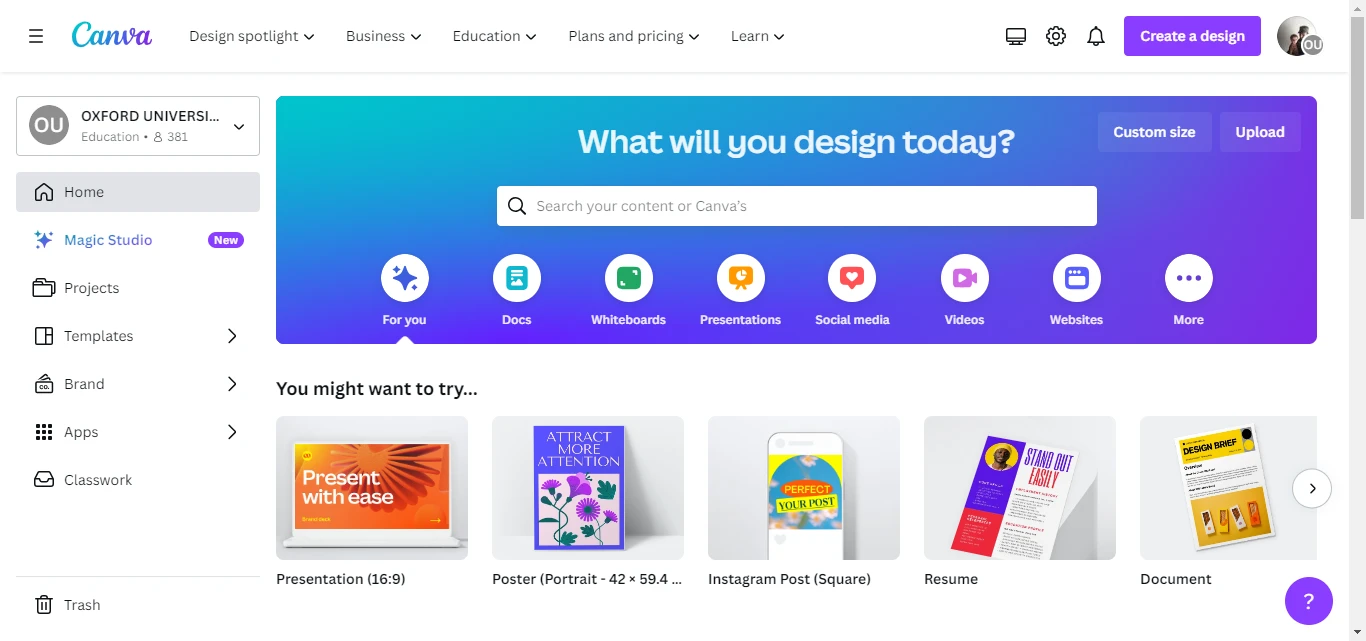
Canva is a designing tool that contains a lot of AI tools. You can have it in app form on your mobiles too so you can use it wherever you want. You can edit your pictures manually here too as it contains a lot of templates, elements and features. With it, you can also use different AI tools such as Magic Remover, etc.
Conclusion
So, image modification and enhancement have become so easy with AI tools. Among them, ZMO is one of the most common ones that contains a lot of features you can use to change your pictures as you want. The tutorial must have told you how easy it is to use this tool. So, do give this Best ai for image modifier a chance.