You might know about the auto-brightness or adaptive brightness feature if you have a mid to high-end Android device. Adaptive Brightness is a smart feature that adjusts your screen’s brightness based on the ambient light around you.
Most of the modern Android smartphones arriving these days have this feature. It’s a feature that helps your phone learn your preferred screen brightness in different lighting conditions.
Your Android phone’s ambient light sensor measures the light around it and adjusts the screen brightness to match. It’s a brilliant feature, but sometimes it doesn’t work as expected.
If the light sensor or the Adaptive brightness feature is not working correctly, your phone will fail to adjust a comfortable brightness level under different lighting conditions. So, if you are facing issues related to adaptive brightness on Android, you are reading the right guide.
How to Fix Adaptive Brightness Not Working on Android
This article will share the best ways to fix adaptive brightness not working on Android devices. Let’s check out.
1) Restart Your Android Device
The first thing you need to do is restart your Android smartphone and check whether the Adaptive brightness has some problems. Like the Windows operating system, Android must restart after being used extensively.
A simple restart will terminate all background processes that might prevent the adaptive brightness feature from working properly.
So, the first thing you should do after spotting the adaptive brightness problem is restart your Android device. If you face problems related to auto-brightness even after the restart, you need to follow the following method.
2) Turn On/Off the Adaptive Brightness

Even if you’ve tried this before, try it again after restarting your Android smartphone. After the reboot, turn on/off your smartphone’s Adaptive brightness feature.
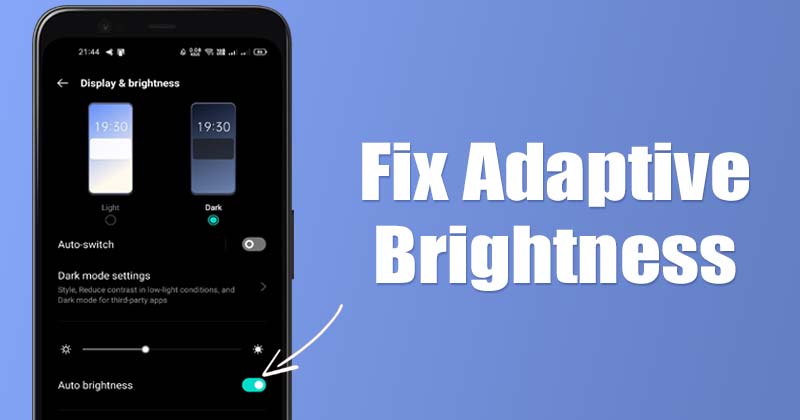
Open the Settings app and select the Display & Brightness option to toggle adaptive brightness. Then, under the Display & Brightness, turn on and off the Auto-Brightness option.
3) Reset the Adaptive Brightness Feature
If the Adaptive brightness is still not working correctly, you might need to reset it. However, resetting Adaptive Brightness is not available on every Android smartphone. If you are using a Pixel device, you need to follow some simple steps shared below.
1. First of all, open Settings on your Android smartphone.
2. On the Settings, open the Apps and Notifications option.
3. On the Apps and notifications, tap the See all Apps option.
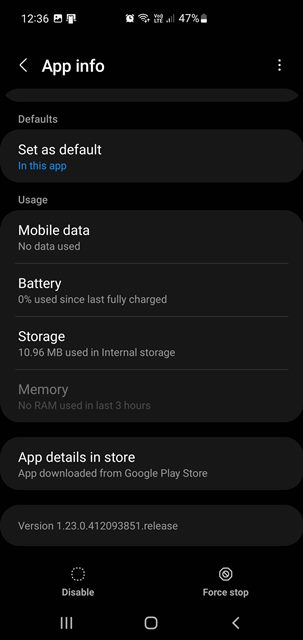
4. Now, find the Device Health Services app.

5. On the App info page, tap the Storage and Cache option.

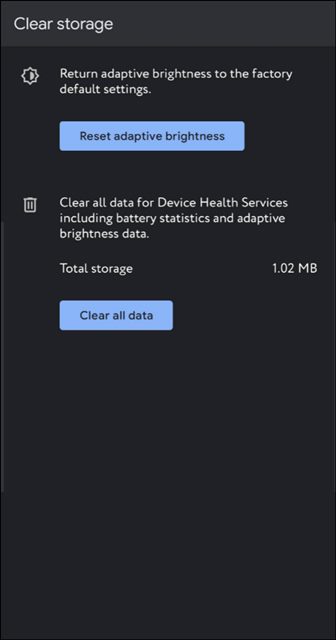
6. On the Storage page, tap on the Clear storage option.
7. Next, tap the Reset Adaptive brightness button, as shown in the screenshot below.

That’s it! You are done. This will reset the Adaptive brightness on your Android smartphone. The steps might vary from device to device.
4) Reset the App Preferneces
Few users have claimed to have fixed the Android Adaptive brightness issue by resetting the App preference. Hence, you must try this method if the Adaptive brightness is not yet fixed. Here’s what you need to do.
1. First, open the Settings app on your Android device.

2. On the Settings app, tap on the Apps option as shown below.

3. Under the Apps, tap on the three dots shown in the screenshot below.

4. From the list of options, tap on the Reset app preferences option.

5. Now, you will see a confirmation prompt; tap the Reset button to reset the app preferences.

That’s it! You are done. After resetting the app preferences, restart your Android device and check whether the Adaptive brightness problem has been fixed.
5) Check Adaptive brightness in the Safe Mode
When you boot into Safe mode, Android disables all third-party applications you have installed. So, if any third-party app or game interferes with the Adaptive brightness feature, the problem won’t appear in the Safe mode.
To boot your Android in safe mode, press & hold the physical power button.
Now long press on the Restart button. You will see a prompt asking you to enter safe mode. On the prompt, tap on the OK button.
That’s it! You are done. Your phone will not boot into the Safe mode. You must use your phone to check if the Adaptive brightness works alright. If it’s working fine, exit the Safe mode and review your third-party apps.
6) Check the Sensors
If Adaptive brightness is still not working, your phone might have a hardware-related issue. Adaptive brightness depends on the light sensor, so if the sensor malfunctions, Adaptive brightness won’t work.

You can use third-party apps like the Sensor test to verify whether the sensor is working. The app will tell you if the Adaptive brightness sensor is functioning correctly or not.
If the app doesn’t help or shows you a negative report, you must take your phone to a service center to fix the problem.
7) Use Velis Auto Brightness App

Velis Auto Brightness is a third-party app that you can get from the Google Play Store. The ultimate aim of the app is to provide you with the best possible brightness experience by using your phone’s sensors.
Velis Auto Brightness allows you to control how much brightness will be applied for any given light condition. You also have the option to choose between a brightness sensor or proximity sensor to measure the light level and adjust brightness accordingly.
Other apps for the same purpose are available on the Google Play Store, but Velis Auto Brightness is the best one and works on the latest version of Android.
8) Update Your Android Software

Sometimes, Adaptive brightness issue occurs due to a bug within the operating system. So, to eliminate such bugs, you need to install the latest version of Android software.
Android updates often contain bug fixes and security patches crucial for any device. So, update the Android software to ensure stability & new features.
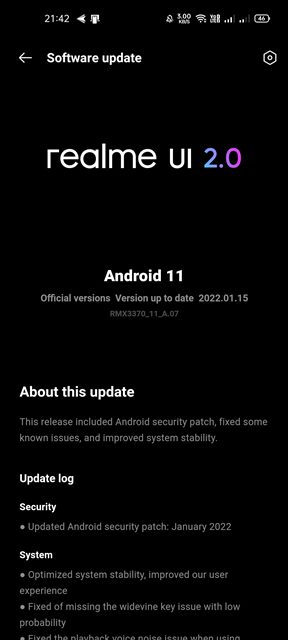
Open the Settings > System > System Update to update your Android smartphone. On the System update, download & install any pending updates.
We are sure that the methods mentioned above will help you fix Adaptive brightness issues on your Android device. I hope this article helped you! Please share it with your friends also. If you have any doubts, let us know in the comment box below.
