Related Articles


How to remove the background of a photo
- Using ImgCreator.ai
- Using Adobe Express
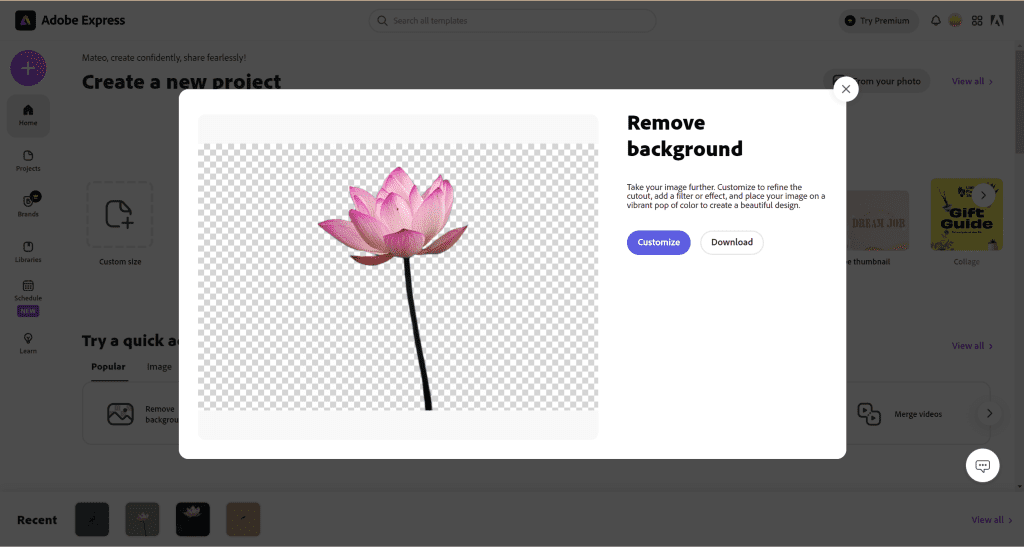
- Using Remove.bg
- Using iPhone built-in tools
Looking for a comprehensive guide on how to remove the background of a photo using your iPhone? The good news is that you’re certainly in the right place. From using built-in tools on iPhone to trying out third-party apps, you can effortlessly remove the background of a photo. This is a simpler task than you might assume, and we’ll share different strategies that can be used, extensively detailed right from manipulating the in-built functionalities of the iPhone to exploring readily available third-party applications.
Anyone with an iPhone is privy to a variety of tools at their fingertips. These built-in tools in iPhone can assist in the process of removing the background from a photo. This doesn’t require any specialist knowledge, it can be achieved with the standard tools that come with the phone. You may be amazed by what you can accomplish without having to download extra software or applications.
That being said, sometimes the in-built utilities might not provide the precision you may require. That’s perfectly ok. For those instances or times when you just need that little additional control or sophistication, there are various third-party applications available. These applications are specifically designed to provide more nuanced functionality including advanced photo background removal. You can try out these third-party apps to further enhance the look and feel of your photos.
So, no matter if it’s making use of your iPhone’s inherent tools or employing a third-party application, rest assured, that the removal of the background from a picture can be achieved effortlessly. Regardless of your skill level or experience, this guide will navigate you through the overall procedure. Now, you are away from just a few taps to manicure your images exactly the way you desire.
Ever captured a picture that would be perfect if not for the unwanted folks or objects in the background? Learn how your handy iPhone can also serve as a pocket Photoshop. Today, we’ll learn how to remove the background of a photo using an iPhone.
Photo Background Understanding
What is background removal?
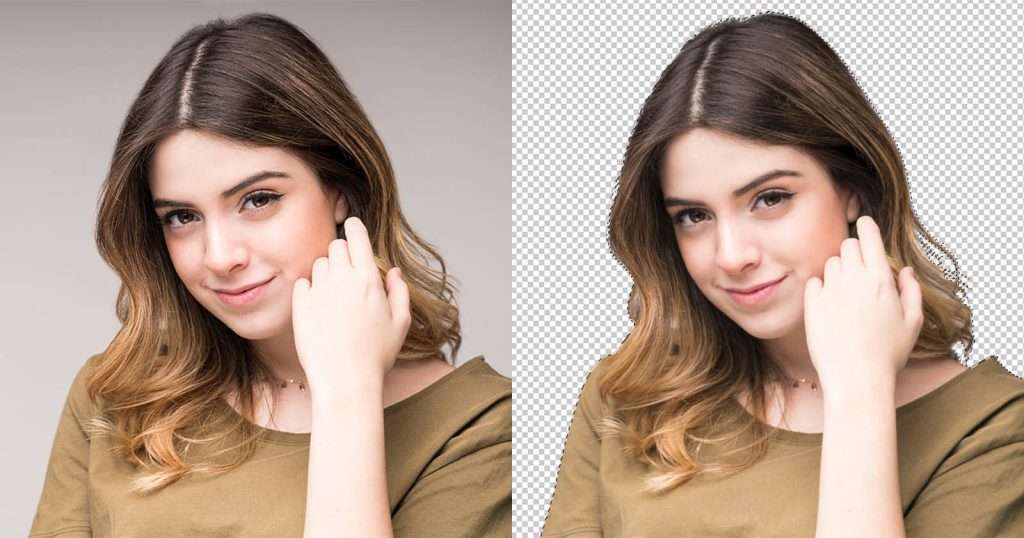
Background removal is just like playing hide and seek with your photo. It hides the cluttered background and seeks focus for the main subjects.
Why remove a photo background?
Removing a background offers your shot a cleaner, simpler look and allows you to replace it with a more appropriate or colourful background. It’s like giving your photo a facelift!
When should you remove a background?
Apart from cosmetic reasons, you might want to remove the background for professional needs, such as product photography, or just for the fun of making creative pictures.

How to remove the background of a photo using an iPhone
Preparation – Choosing the right photo
The key to start? Choosing the right photo! Sharp images with a clear distinction between the subject and the background work best. It’s similar to distinguishing cheddar from blue cheese at a glance.
Using Built-in Tools
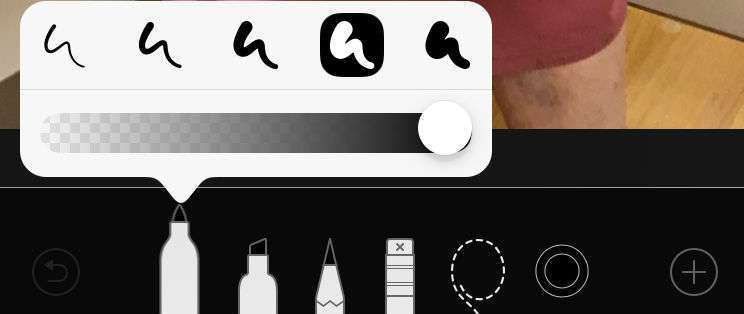
1. The Markup tool
There are moments, on occasion, when the solution to a complex problem doesn’t require complicated or extensive equipment or methodologies. You don’t always have to resort to heavy artillery to emerge victoriously from a battle or a war. Similarly, in the computer software arena, the use of simple tools often proves to be just as effective, if not more so.
Marked examples of such simplicity over complexity abound. Consider the case of a tool like Markup, a beautiful ensemble of simplicity and efficiency. As straightforward as its name suggests, its function is quite the same – to allow you to easily modify, or “mark up”, images with effortless ease.
Markup allows smooth and natural editing of screenshots or captured photos. You may wonder how to harness this tool. The process of utilizing this friendly and simple tool is a cakewalk. Let’s talk about the straightforward procedure, step by step.
The first step is to choose the photo that you wish to edit. You open your dedicated photo folder or app on your device, sift through your collection of images, and select the photo or captured screenshot you want to edit. Perhaps you’re looking to highlight an area, add commentary, or emphasize a certain piece. Regardless of the reasoning, the first step is always to open your handpicked photograph.
Following this primary step, you’ll proceed to the action phase. Once the photo is open on your device, look for the option that allows editing capabilities. It will be labeled as ‘edit’ and typically sit at the bottom of your screen or in the corner of your device’s screen. Tap this option, engaging the unlocked potential to apply modifications and alterations to your selected image.
Finally, upon entering this editing mode, you’ll encounter several options to aid in your editing mission. The one you are looking for is entitled Markup. Choose the Markup tool from the suite of options available. This powerful yet simple tool is the key to accomplishing your editing task, whether it is annotating a screenshot or editing a beloved snapshot.
And there you have it! Simply follow these few steps to activate Markup’s magnificent potential, and to put your artistic vision into practice. It’s an affirmation that sometimes you truly do not require heavy artillery to win the war, especially not when you possess a tool as straightforward yet effective as Markup.
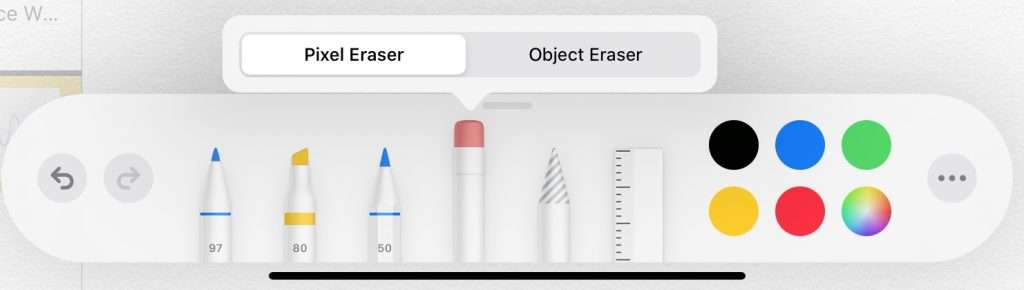
2. The Erase tool
The Erase tool, in its own unique way, can be considered a divine blessing for individuals engaged in digital work. Its function can be likened to that of a digital eraser, replicating the conventional tool we’ve been using since our school days. It’s finely programmed to meticulously discard elements or objects from your digital image, giving you the power to prune unnecessary or unwanted aspects whenever desired. The primary intention behind using this feature is to provide an ability to eliminate the backdrop or background, in turn, yielding an image with more clarity, cleaner details, and greater emphasis on the desired focal points.
But it’s pertinent to remember a crucial requirement while dabbling with this tool. This isn’t a task where you can afford to be haphazard or negligent. It demands absolute precision, mimicking the level of steadiness that a surgeon exhibits during a procedure. Your hand-guiding the mouse or the digital pen, depending on your preference, needs to navigate the eraser with expert precision on the image. It’s much like how a surgeon’s hand, unerring and stable, maneuvers a scalpel on the patient, with an express purpose and a clear goal in mind. This level of stability and accuracy is vital to ensure the most optimal utilization of the Erase tool, bringing your image to its highest potential.
Using Third-Party Apps
Third-party apps provide more dedicated features for background removal.
1. ImgCreator
ImgCreator, in essence, is akin to a magic wand designed specifically for the swift yet precise removal of picture backgrounds. Built with precision and speed in mind, this tool employs intelligent processes to effortlessly distinguish the primary contents of the image from the surrounding backdrop.
Its complex algorithms manage to simplify this process, eliminating the need for convoluted image editing software which often deters individuals from achieving their desired photo effect. Through ImgCreator, what used to be a daunting, technical task is now transformed into an easy-to-accomplish activity, allowing anyone and everyone to produce immaculate, high-quality images. It achieves this with an ingeniously user-friendly interface, making the otherwise challenging process of photo editing far less intimidating.
As a result, this powerful tool has been enthusiastically embraced by everyone from total novices to seasoned professionals, effectively bridging the gap between complex technicalities and user-friendly operation. This is because ImgCreator doesn’t haphazardly rush to finish its task. Instead, it patiently and meticulously takes each step, ensuring that the user has the greatest control over their background removal process and consequently, their final output.
ImgCreator signifies a paradigm shift in how we approach picture adjustment and enhancement. Fundamentally changing traditional methods, it redefines expectations and sets a higher benchmark for simplicity and performance. No longer does the user need to struggle with advanced editing tools or invest in costly software – ImgCreator empowers everyone to become their own skilled photo editor. It not only transforms the way we remove unwanted backgrounds but also revolutionizes our perception of possibilities within the realm of photo editing. Its uniquely democratizing effect proves that superbly edited pictures are no longer the exclusive domain of professionals. With ImgCreator, we are all artists and the world of photo creativity is our oyster.
2. Photoshop Express
Photoshop Express is an extraordinary application that brings the robust and powerful tools of Adobe’s renowned desktop software straight into the palm of your hand, specifically designed for your iPhone. The popularity of this versatile software comes not just from the prestige of Adobe, but because of a plethora of usability features that are designed to streamline your image editing process. One such tool is the magic wand, a feature that many users have come to adore.
This particular tool—the magic wand—quite literally works like magic. It serves as one of the prime attractions of Photoshop Express, enabling you to easily manipulate images to your liking. What it does is intensely simple yet utterly indispensable for those seeking perfect results: it makes the usually complex and tedious task of erasing the background from any photo as easy as pie. By merely touching the area you want to eliminate, the magic wand tool intelligently isolates and removes it, ensuring you can focus on your creative process without the cumbersome technicalities.
In essence, Photoshop Express brings all the magic and sophistication of Adobe’s famed editing toolkit to your iPhone, with an emphasis on usability and speed. The magic wand’s exemplary functionality for erasing backgrounds is just one aspect of it. It makes working with the software not only simple but also enjoyable, transforming your phone into a handy tool for all your photo editing needs.
3. Remove.bg
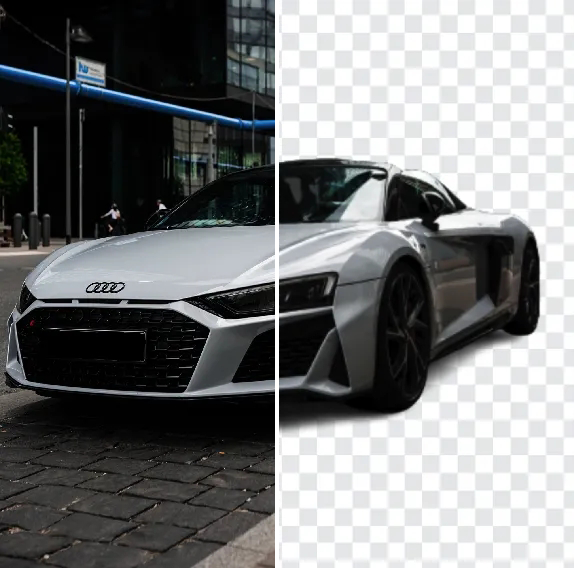
Remove.bg is a state-of-the-art platform that holds expertise in effectively removing backgrounds from images. The process it employs is brilliantly straightforward and intuitive. From a multitude of images, ranging from a casual selfie in the park to a professionally clicked model portrait, all you need to do is select the one you wish to have its background erased and simply upload it to the platform.
Take a moment to choose your favorite photograph to modify, be it from an adorable puppy to an impactful portrait shot. Once the chosen picture is successfully uploaded onto the platform, the magic begins. The sophisticated algorithms of Remove.bg promptly get to work. They meticulously analyze every pixel of your image, recognizing the distinction between the primary subject and its surrounding environment, which is the background.

What follows next is truly a spectacle. Within a blink of an eye, voila, your selected image is endowed with transparency, effortlessly extracting the background from the main subject of the image. Illustrating the power of cutting-edge technology, the photograph you uploaded now bears a completely transparent background. Thus making it perfect for any layout, design, or purpose you may have in mind.
Its level of simplicity is akin to that of baking a pie; it’s that straightforward! The platform prides itself on its usability, making it accessible for everyone. You no longer require the complex skills of a graphic designer or the intricate tools of digital editing software to achieve a transparent background. Just select and upload the image, and the rest is handled by the capable hands of Remove.bg. The whole process is as satisfying and effortless as eating a slice of pie, truly easy and enjoyable!
Additional Tip – Creating a Transparent Background
Want to create engaging social media content or fun stickers? Try removing the photo background and saving the image with a transparent background. Apps like Remove.bg can help you with this.
Frequently Asked Questions about Removing Photo Background on iPhone
- Can I remove a photo background using iPhone’s native tools?
Yes, you may delete the background of a photo using the Markup and Erase tools. Third-party apps are suggested, nevertheless, for results that are more precise.
- Are third-party background removal apps safe to use?
Apps like Removebg, Background Eraser and Photoshop Express, are popular and commonly used. However, always ensure to review app permissions before you download it.
- How can I save an image with a transparent background on my iPhone?
After removing the photo background using an app like Imgcreator, you can download and save the transparent PNG file.
- Does removing a background degrade image quality?
If done carefully, it should not degrade the image quality. However, results also depend heavily on the quality of the original photo and the app used.
- Can I add a new background after removing the original?
Yes. You can add your own background to a photo using photo editing tools or apps after deleting the original background.