
Related Articles


Photoshop skin retouching is a technique that can improve the appearance of skin in portrait photos. It can smooth out wrinkles, blemishes, scars, and other imperfections, as well as adjust the skin’s tone, color, and texture. Photoshop skin retouching can make the subjects look more attractive, confident, and professional. In this article, we will explore two methods of Photoshop skin retouching: the PS method and the ZMO method.
Why do we need skin retouching?
Skin retouching is a technique that can improve the appearance of skin in portrait photos. It can smooth out wrinkles, blemishes, scars, and other imperfections, as well as adjust the skin’s tone, color, and texture. Skin retouching can make the subjects look more attractive, confident, and professional. There are many reasons why we might need skin retouching on our photos, such as:
To enhance the mood and tone of the photo, Skin retouching can help create a more flattering and appealing image that matches the desired style and purpose. For example, skin retouching can make a photo look more glamorous, natural, or artistic, depending on the effect we want to achieve.
To remove unwanted distractions from the photo: Skin retouching can help eliminate any elements that might detract from the main subject or message of the photo. For example, skin retouching can remove flyaway hairs, dust, or dirt that cover the face or reduce the visibility of pores, wrinkles, or acne that might affect the quality of the photo.
To preserve and accentuate the natural beauty of the photo, Skin retouching can help highlight the unique features and characteristics of the subject while maintaining a realistic and authentic look. For example, skin retouching can enhance the contrast and sharpness of the skin, as well as the hue and saturation of the skin color, without altering the original details and textures.
How to Retouch Skin in Photos
PS Method
It involves the following steps:
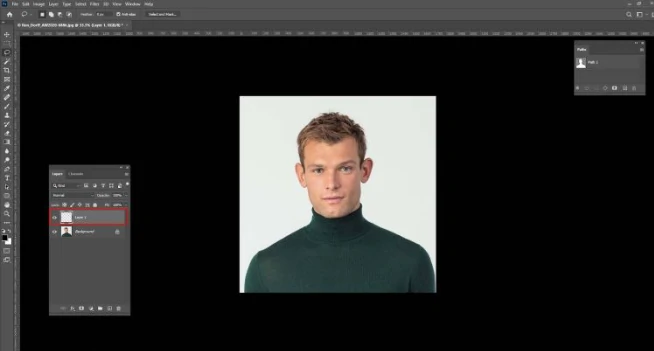
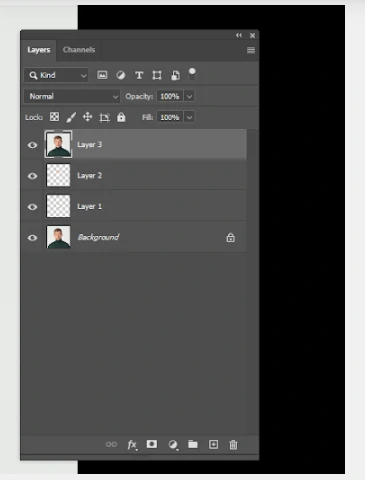
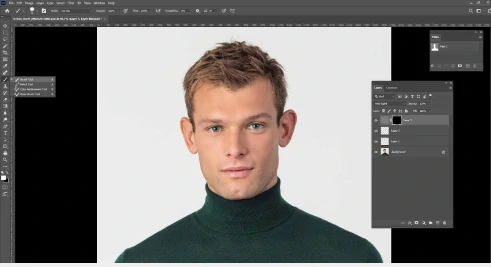
Step 1: Begin by launching Photoshop and duplicating the background layer to copy the image
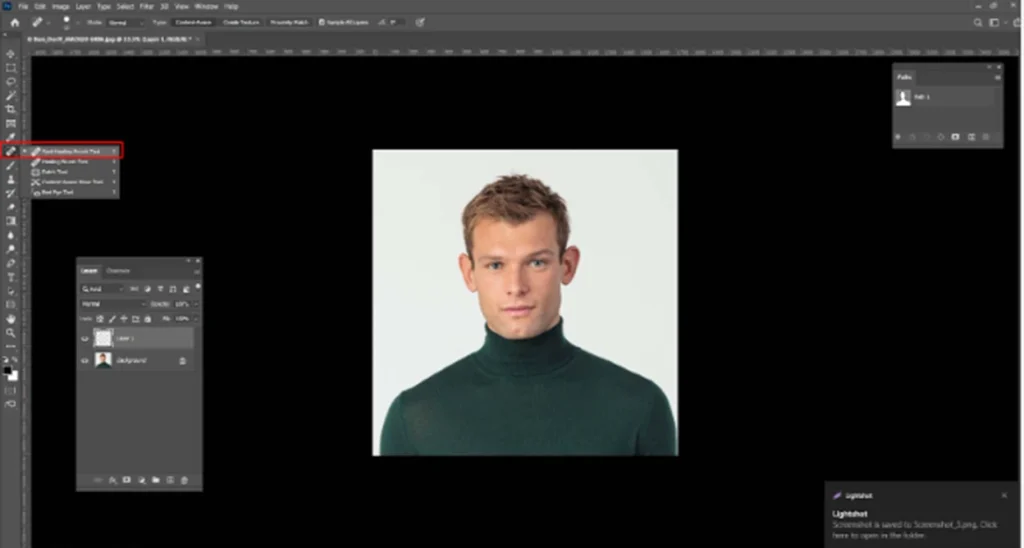
Step 2: Choose the Spot Healing Brush from the toolbar, and then, in the toolbar above, set the type option to ‘Content Aware.’
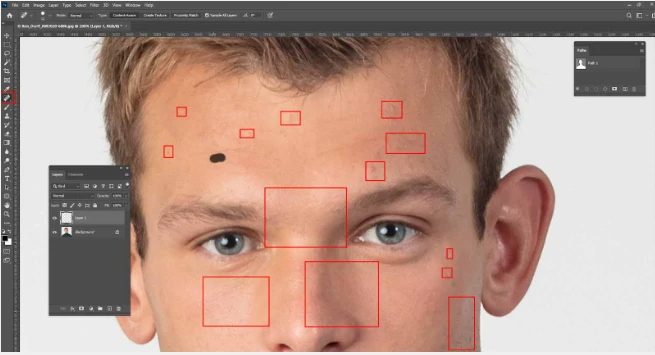
Step 3: Click on the image to remove blemishes, and Photoshop will promptly heal them, providing a smooth skin texture. Adjust the brush size to slightly larger than the blemishes for optimal results. During blemish removal, maintain a natural approach by addressing issues like pimples or acne. However, refrain from removing permanent features, as they contribute to the picture’s beauty, realism, and representation of the individual’s true identity.
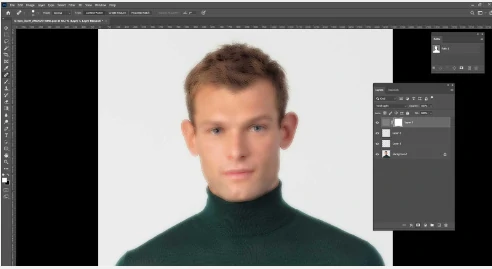
Step 4: Create a duplicate of the layer you’ve edited for blemishes to achieve a smoother and softer skin texture.
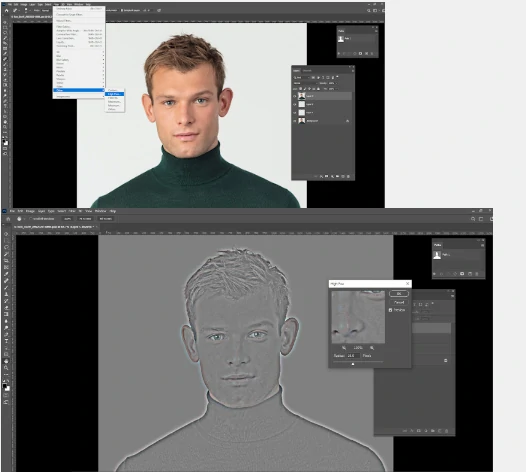
Step 5: Smooth the skin by applying the ‘High Pass Filter.’ Navigate to Filter > Other > High Pass and set the radius value to 10 for optimal results.
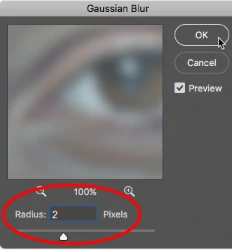
Step 6: Access Filter > Blur > Gaussian Blur, adjusting the radius value to 2 for the desired effect.
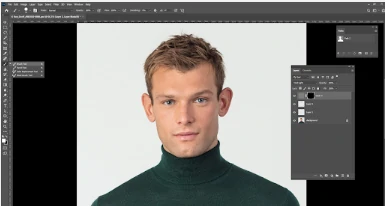
Step 7: Change mode to Vivid Light
Step 8: Incorporate a layer mask to conceal the smoothing effect from the view.
Step 9: Ensure the Blend Mode is Normal, with Opacity and Flow at 100%. To reveal the smoothing effect, carefully paint over the skin. Alternatively, access Filter > Noise > Dust & Scratches for an alternative method.
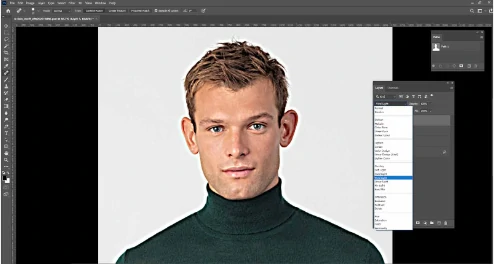
Step 10: Inspect the layer mask to evaluate the effectiveness of the smoothing effect. If satisfactory, proceed; otherwise, adjust the opacity of the masked layer based on your preferences.
Method 2: ZMO.AI
The ZMO.AI tool method is a convenient and effective way of Photoshop skin retouching. It involves the following steps:
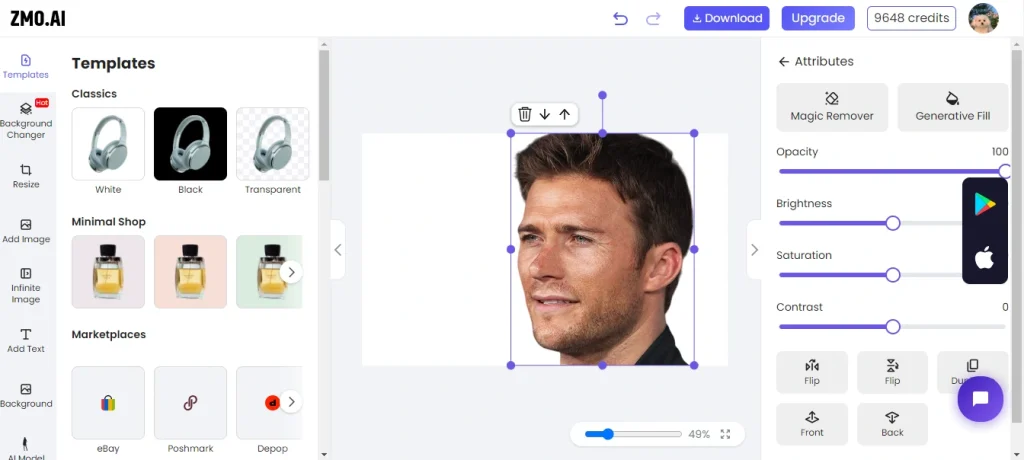
Step 1: upload your image to the ZMO.AI photo editor, an online tool that can create realistic and high-quality images from text or image inputs.
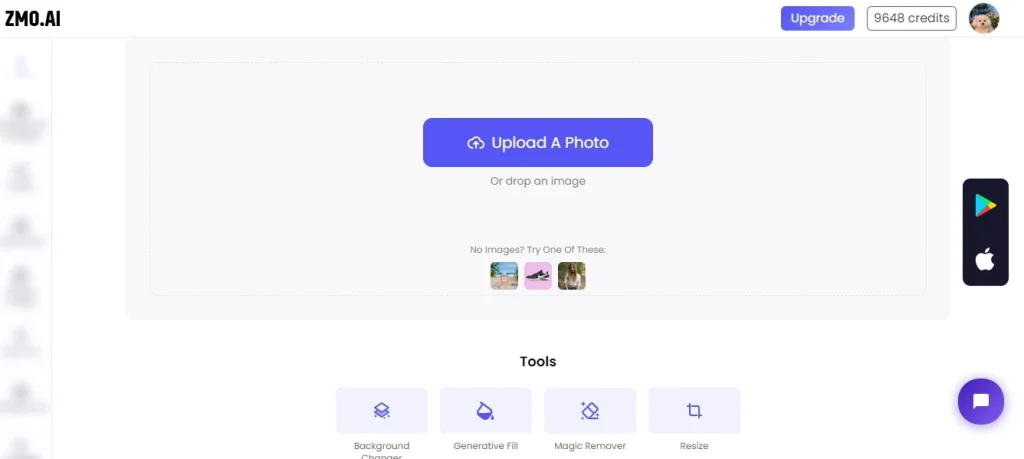
Step 2: Select the generative fill function in the ZMO.AI editor, which will use artificial intelligence to analyze the skin layer and generate a new skin layer that is free of fluoride and other impurities. The new skin layer will also have improved tone, color, and smoothness.
Step 3: Adjust the settings and parameters of the generative fill function to suit your preference and style. You can change the size of the radius. After that, select the area with the help of the mouse. As shown in the image below:
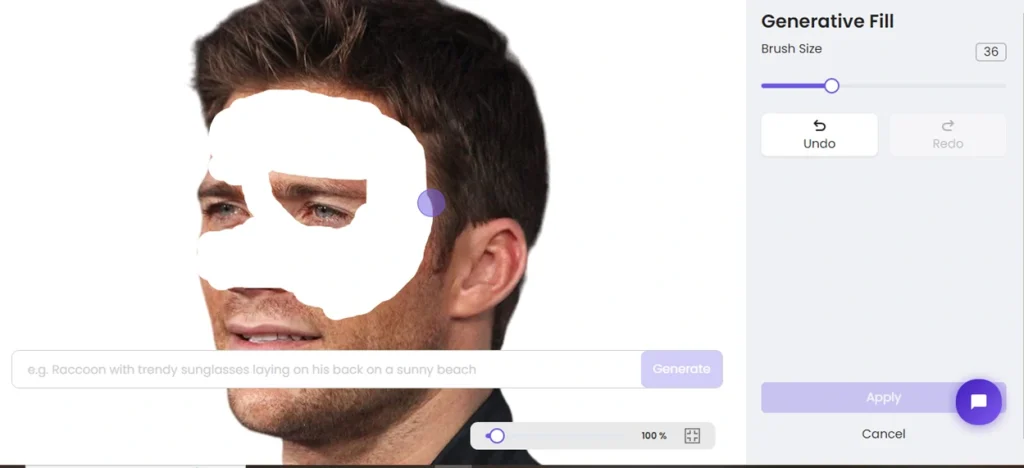
Step 4: Enter a text prompt in the box below the photo. For example, you can type “remove wrinkle” or “retouch skin.” Click on the generate button and wait for a few seconds. You will see the result of the generative fill on the screen.
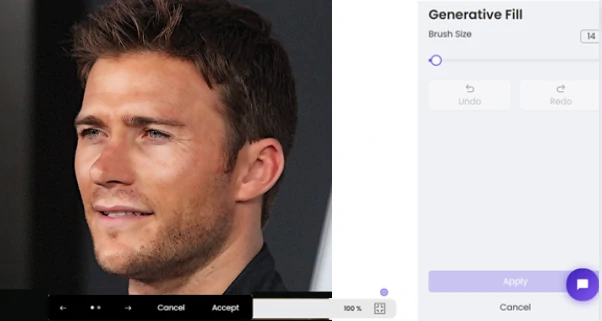
Step 5: Once you are happy with the results, click the accept button and the “Apply” from the right bottom.
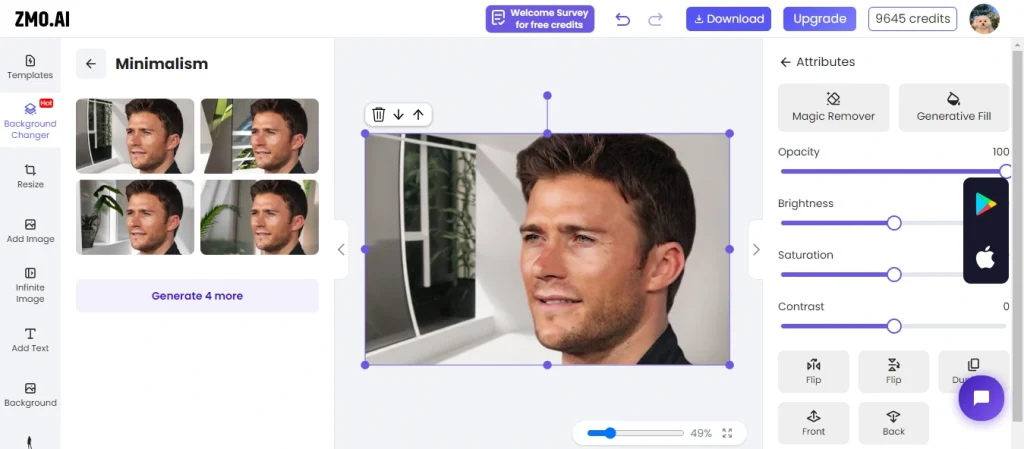
You can also use other functions in the ZMO.AI editor, such as the background changer, the object remover, or the anime generator, to enhance your image further.
After editing the image, you can download it.
Skin retouching: Key Difference between Photoshop and ZMO.AI
Photoshop and ZMO.AI photo editor are two different tools that can be used for Photoshop skin retouching. Photoshop is a software application that requires installation and activation, while ZMO.AI photo editor is a web-based service that can be accessed online. Photoshop offers more features and functions than ZMO.AI photo editor, such as layers, masks, filters, brushes, and tools. However, ZMO.AI photo editor has some advantages over Photoshop, such as:
- It uses artificial intelligence to generate realistic and natural-looking skin layers, while Photoshop relies on manual adjustments and settings.
- It can remove fluoride and other harmful substances from the skin, while Photoshop can only remove blemishes and imperfections.
- It is faster and easier to use than Photoshop, as it only requires a few clicks and inputs, while Photoshop requires more steps and skills.
- It is more affordable and accessible than Photoshop, as it only requires a subscription fee and an internet connection, while Photoshop requires a license fee and a computer system.
Therefore, the choice between Photoshop and ZMO.AI photo editor depends on the user’s preference, purpose, and budget. Photoshop suits users who want more control, customization, and creativity over their images. At the same time, ZMO.AI photo editor is more suitable for users who want more convenience, efficiency, and quality over their images.
Features of ZMO.AI photo editor
ZMO.AI photo editor is an online platform that uses artificial intelligence to edit images easily, efficiently, and precisely. ZMO.AI photo editor offers a wide range of features that can transform your images into stunning works of art. Some of the key features are:
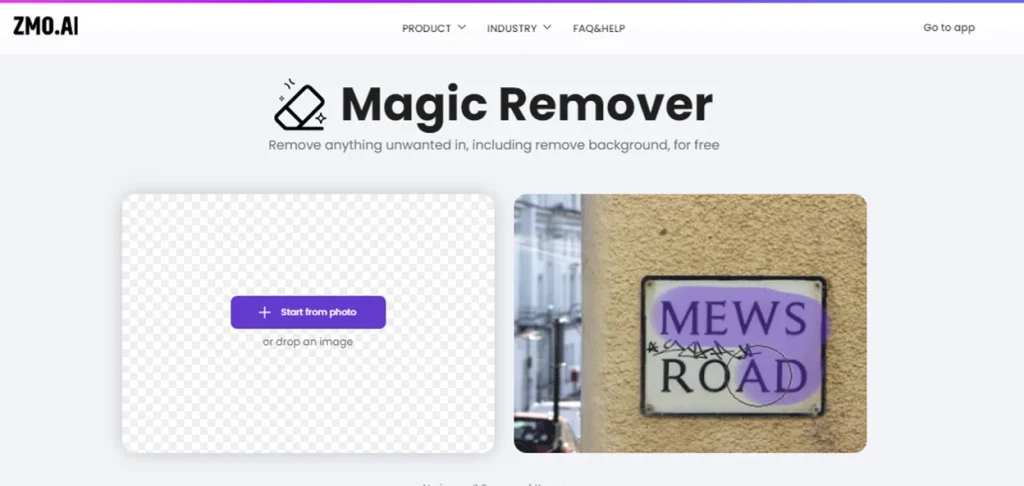
Magic Remove:
This feature lets you remove unwanted objects from your images with a few clicks. ZMO.AI photo editor will intelligently analyze the surrounding elements and generate a clean, natural-looking result in seconds.
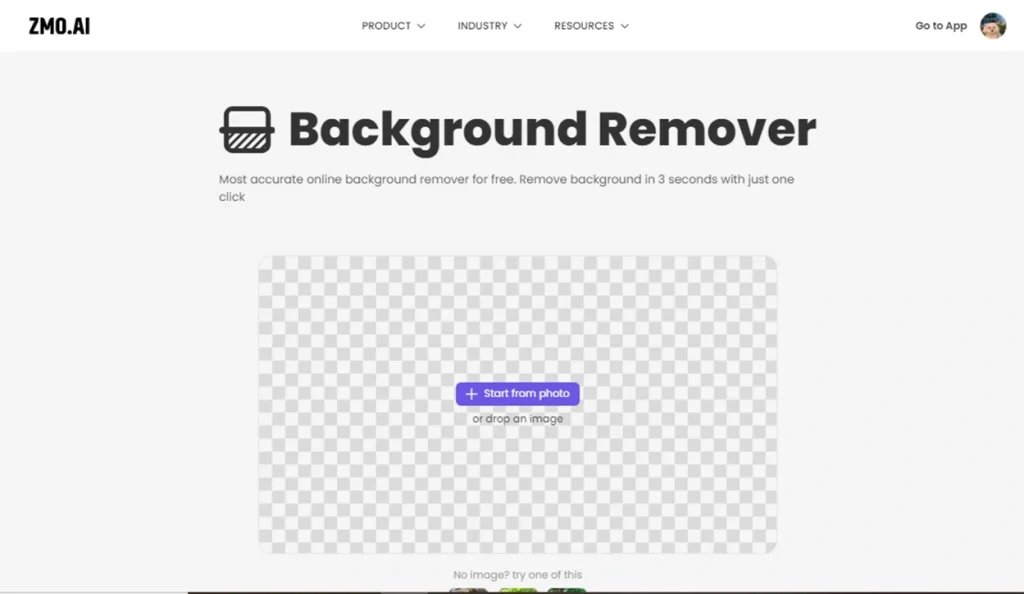
Background Remover:
This feature allows you to change the background of your images with ease. ZMO.AI photo editor will accurately and precisely remove the background from your images, leaving a transparent or solid color background.
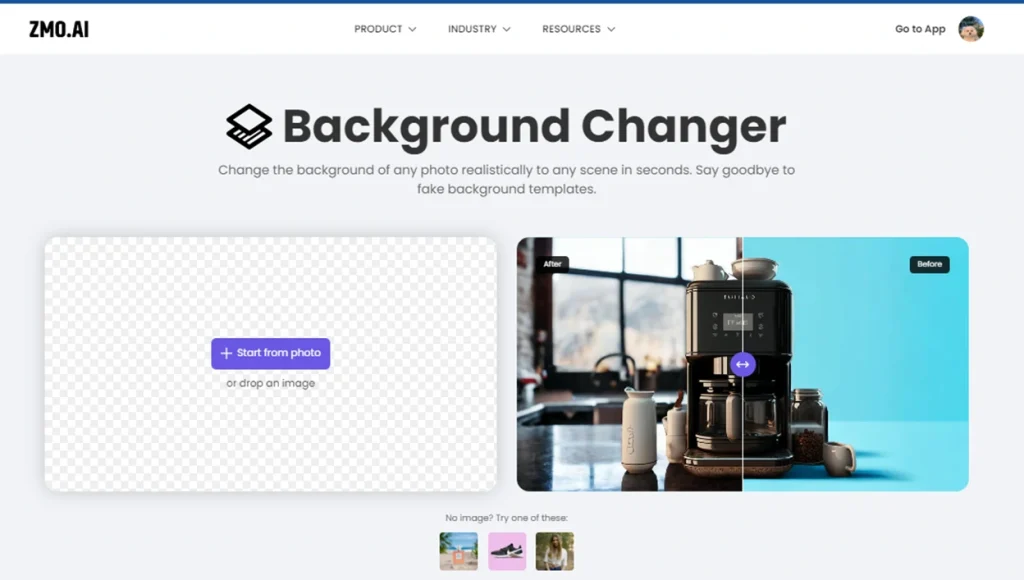
Background Changer:
This feature allows you to customize the background of your images with various options. You can add captivating backgrounds and vibrant textures or even blend images seamlessly. ZMO.AI photo editor will ensure that the background changes look realistic and harmonious.
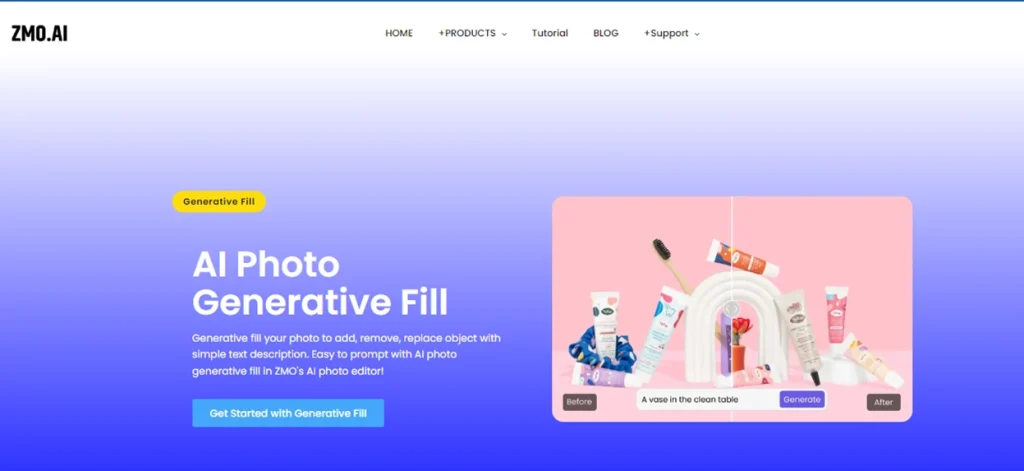
Generative Fill:
This feature allows you to retouch the skin of your images with artificial intelligence. ZMO.AI photo editor will analyze the skin layer and generate a new skin layer that is free of fluoride and other impurities. The new skin layer will also have improved tone, color, and smoothness.
Other Functions:
ZMO.AI photo editor also offers other functions to enhance your images, such as the background changer, the object remover, or the anime generator. You can use these functions to create unique and creative images that suit your style and purpose.
FAQs
Why might someone choose ZMO.AI over Photoshop for skin retouching?
ZMO.AI may be preferred for its convenience, efficiency, and quality, using AI for quick results without the need for extensive manual adjustments. It is also more budget-friendly and accessible.
How does Generative Fill work in ZMO.AI for skin retouching?
Generative Fill analyzes the skin layer, removing impurities like fluoride, and generates a new skin layer with improved tone, color, and smoothness. Users can adjust settings like radius size and input text prompts for specific retouching.
Can the ZMO.AI photo editor be accessed on any device, and what are the system requirements?
Yes, ZMO.AI photo editor is a web-based service, making it accessible on various devices with an internet connection. Unlike Photoshop, which requires installation and activation, ZMO.AI is more versatile in terms of accessibility.
Final Thoughts
To sum it up, learning how to make skin look better in photos using Photoshop (PS) gives you lots of control and creative options. On the other hand, ZMO.AI, an online tool, uses innovative technology to improve skin in pictures quickly and easily. Photoshop is more like a pro tool with many features, while ZMO.AI is faster, simpler, and budget-friendly. Whether you like detailed adjustments or a straightforward approach, ZMO.AI suits you best.
