
Related Articles


“Say Cheese,” the camera clicks, and you have a picture with everyone striving to show off their teeth, whether complete or not. Once a camera is pointed, everyone tries to put on their best look, and this includes smiling profusely in some cases. But due to lighting factors, type of camera, and nature of the person, these pictures may not always turn out as expected, and as such, one’s teeth may be dull or not bright enough, and this can sometimes be embarrassing.
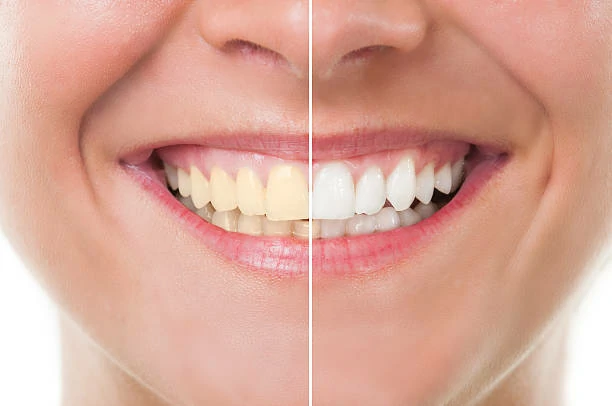
In recent times, with advanced technologies, software programmes have been developed to combat this issue by providing a whitening option for pictures. The best part about these softwares is that they are easy to use even if you don’t have any prior knowledge, and you can edit on the go. If you are looking for a professional-grade teeth-whitening photo editor that is easy to use, even for beginners, we highly recommend PhotoDirector.
With a focus on creating a flawlessly natural look, PhotoDirector, an editing programme known for its intuitive interface, offers a variety of beauty retouching options to improve your picture presentation. Just choose which teeth need to be whitened and how strong of an effect you want. The software will manage the complexities with ease, guaranteeing a polished result.
How To Use PhotoDirector to Whiten Your Teeth
To use PhotoDirector to whiten your teeth in photos, follow these simple steps:
1. Download PhotoDirector for Windows or Mac. You can also download it for Android or iOS.
2. Bring in your photo: Begin by importing your image into PhotoDirector. You have the option to add multiple pictures to the PhotoDirector library and edit each one separately.
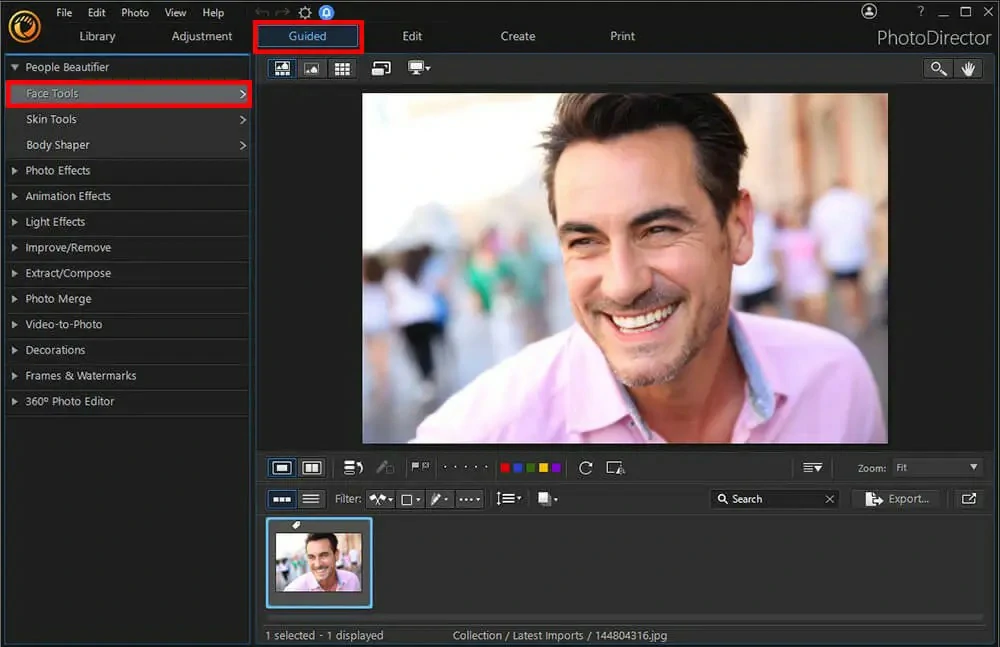
3. Access the “Guided” feature: After importing your preferred photo into the editor, navigate to the top of the page and click on the “Guided” tab. This action will lead you to a page showcasing all the guided editing tools available within the PhotoDirector interface.
4. Choose “Face Tools”: Afterward, select “People Beautifier,” followed by “Face Tools.” This will reveal a range of beautification tools that can be applied to enhance your photograph.
5. Select the “Tooth Brush” instrument: This specific brush is meant to be used for teeth-whitening in your picture. Easily identified by its unique icon of a smiling lip, this tool allows you to manually whiten your teeth by turning your cursor into a brush.
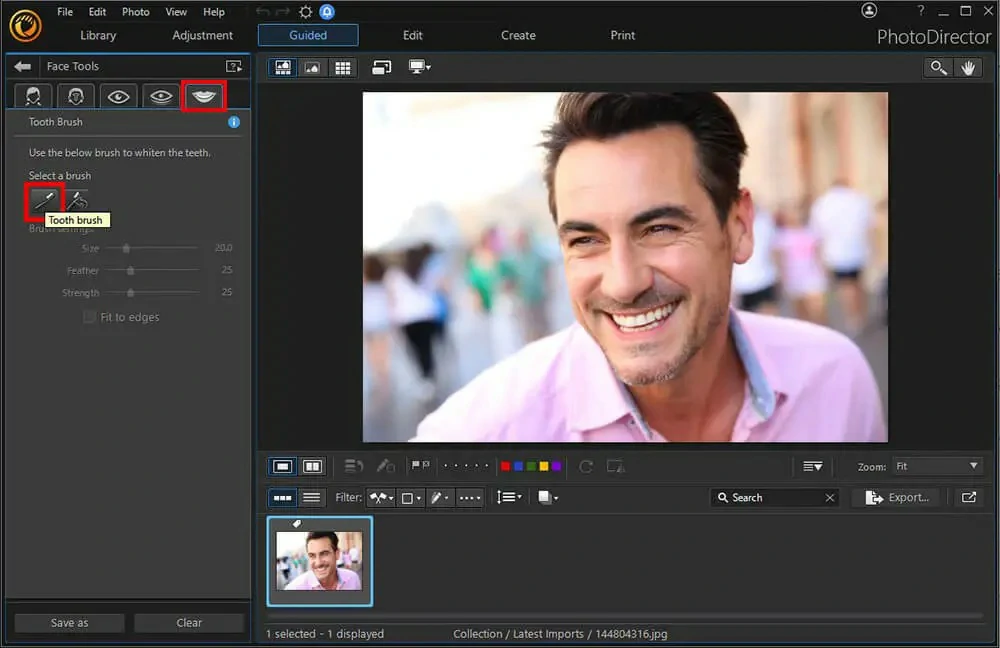
6. To get precise strokes around the margins of teeth, start with a smaller brush and adjust the size accordingly.
Feathers: Adjust feathers to improve the transition; more feathering creates a more organic blend between the whitened teeth and the surrounding area.
c. Strength: For a natural whitening effect, adjust the Tooth Brush tool’s strength by putting it in the centre of the slider.
7. Choose the “Fit to Edges” option to limit the whitening impact to nearby regions with comparable characteristics, keeping the effect within the limits of your teeth.
8. Click and drag the brush to apply it. – To start the teeth-whitening procedure, use your cursor as a brush. For improved visibility, enlarge if needed. To delete, use the eraser icon.
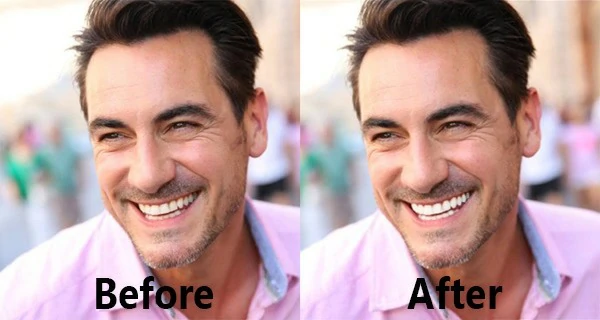
9. Export and Save Your Image: For a flawless appearance, take a few minutes to perfect your teeth whitening. After you’re happy, save your edits and export the improved image.
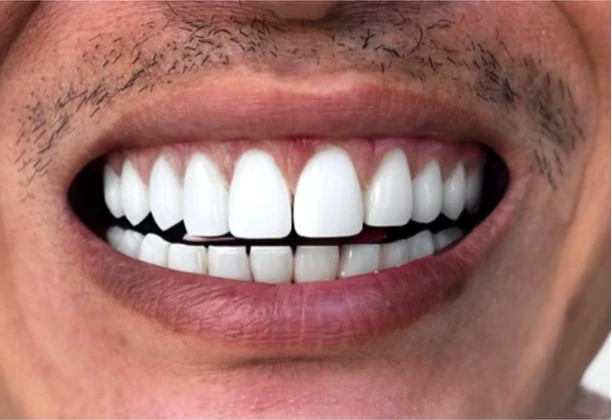
Here’s what the final picture should look like when compared:
Did you know that there are a dozen other alternatives to whitening teeth photo editors?
Indeed, there are tonnes of options, many of which are praiseworthy. Nonetheless, ZMO is a very notable competitor in this field. Differentiating itself, ZMO offers more than just teeth-whitening services.
How To Use ZMO Photo Editor to Whiten Your Teeth
The ZMO teeth-whitening photo editor also has a number of cutting-edge innovations that improve the teeth-whitening technique in addition to its basic functionality. With its comprehensive approach to enhancing not only the brightness of teeth but also the overall image refinement, ZMO stands out from others thanks to its plain customisation choices and seamless integration into a variety of photo editing applications.
Enough chit-chat about what ZMO can do; let’s experience it for ourselves in this guide.
Step 1:
Go to the ZMO photo editor page and login.
Step 2:
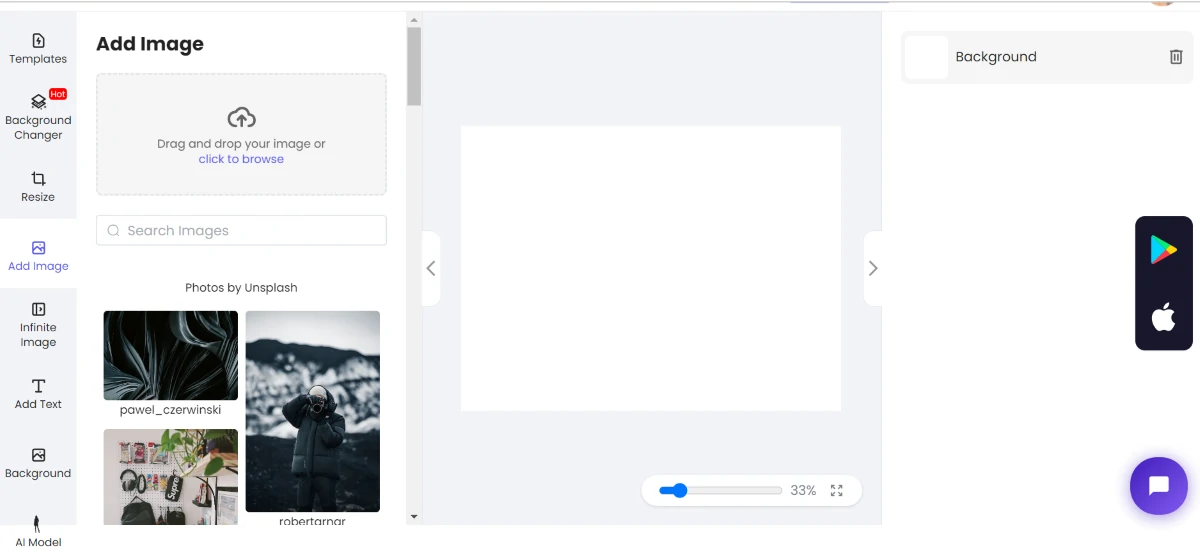
Navigate to the “Add Image” icon and select.
Step 3:
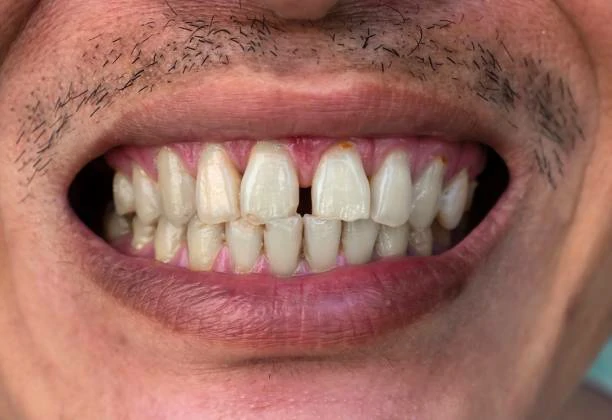
You can now proceed to upload the photo to be edited. For this tutorial, we will be making use of the stock image below:
Step 4:
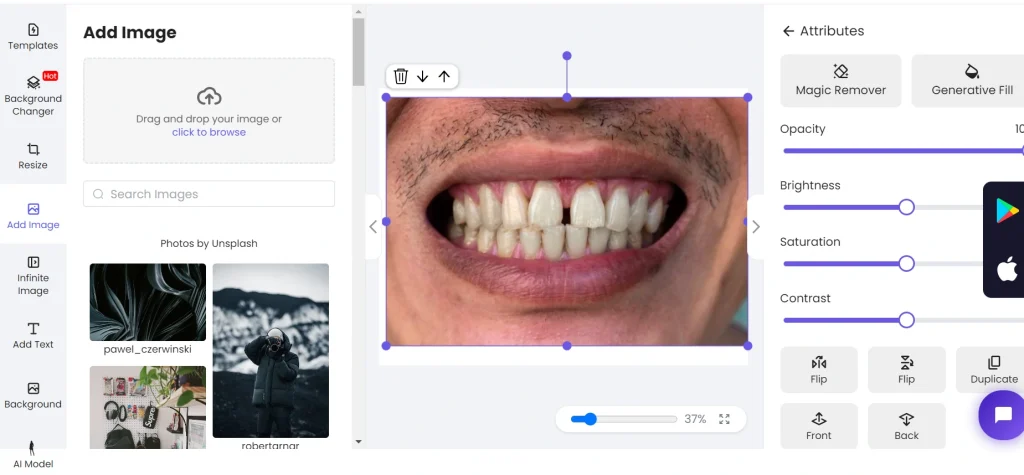
Once the image is uploaded, the next step is to resize the photo to fit the plain canvas space already provided at the centre of the work space.
Step 5:
After proper adjustment, editing begins. Click on the image, and a panel on the left should appear. Click on the “Generative Fill” with a paint bucket icon. It should now appear like this:
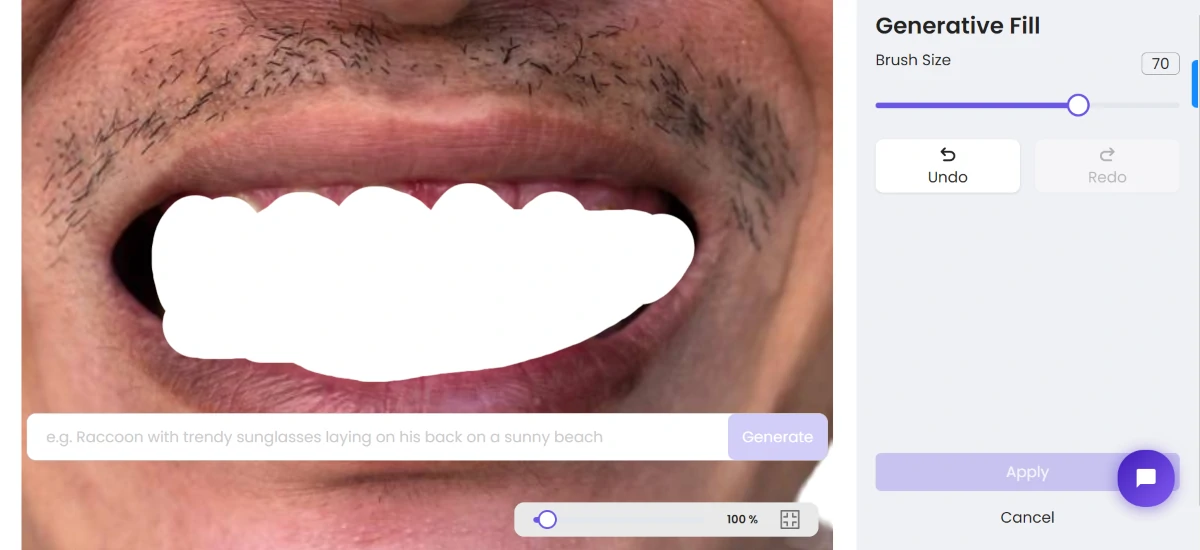
Step 6:
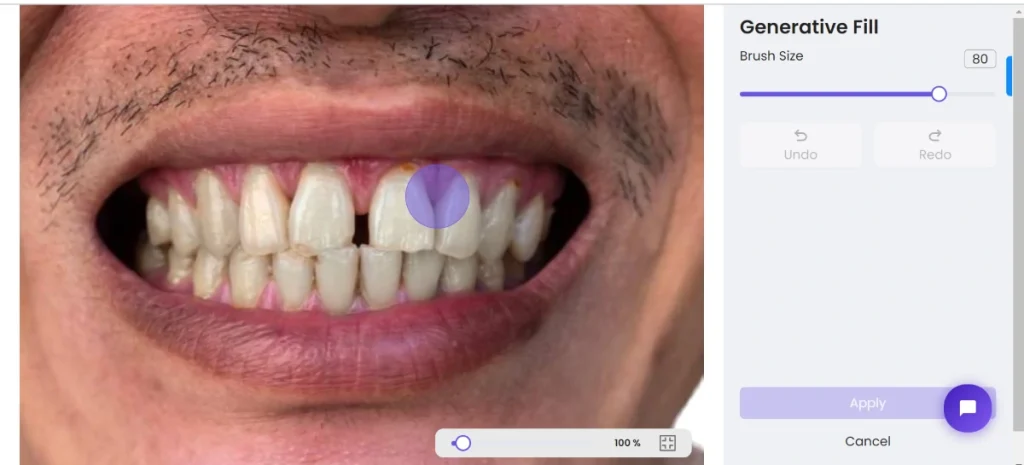
The next step is to highlight the area you want to edit after adjusting the brush size to your desired size. Since we want to whiten the teeth, we will highlight the teeth area completely. It should appear like this:
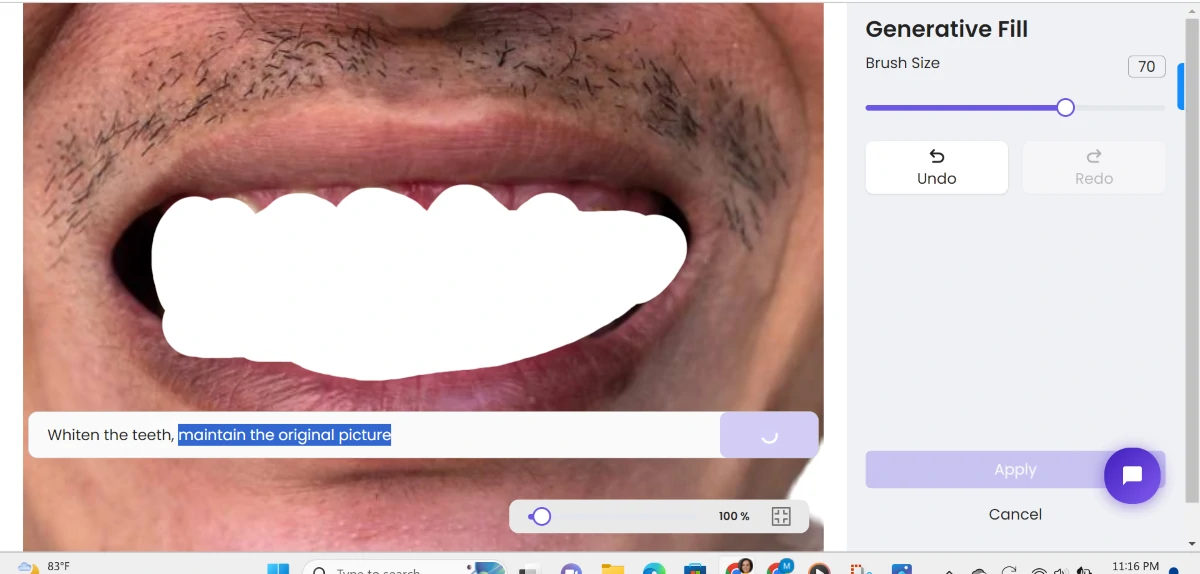
Step 7:
Next, we will input our command into the designated command text box, as illustrated. The command can be a sophisticated one, such as utilising advanced scripting or incorporating intricate parameters such as giving dimensions and minute details of hair colour, size, and texture for a more nuanced and precise execution. Or the command can be a very simple one like ours, “Whiten the teeth; maintain the original picture.”
Step 8:
Once the command has been given, wait a few seconds while ZMO does its magic.
Step 9:
Voila,you have your images. ZMO provides you with two different options which you can accept or reject.
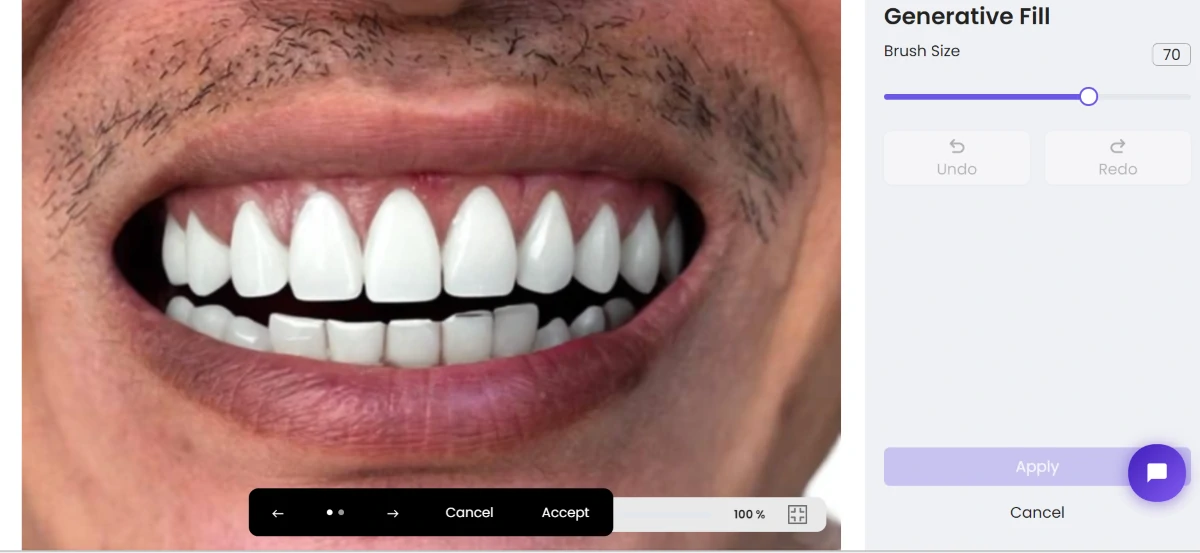
We will go with number 2 because it is whiter and more suited to what we are looking for. We will proceed to accept and apply.
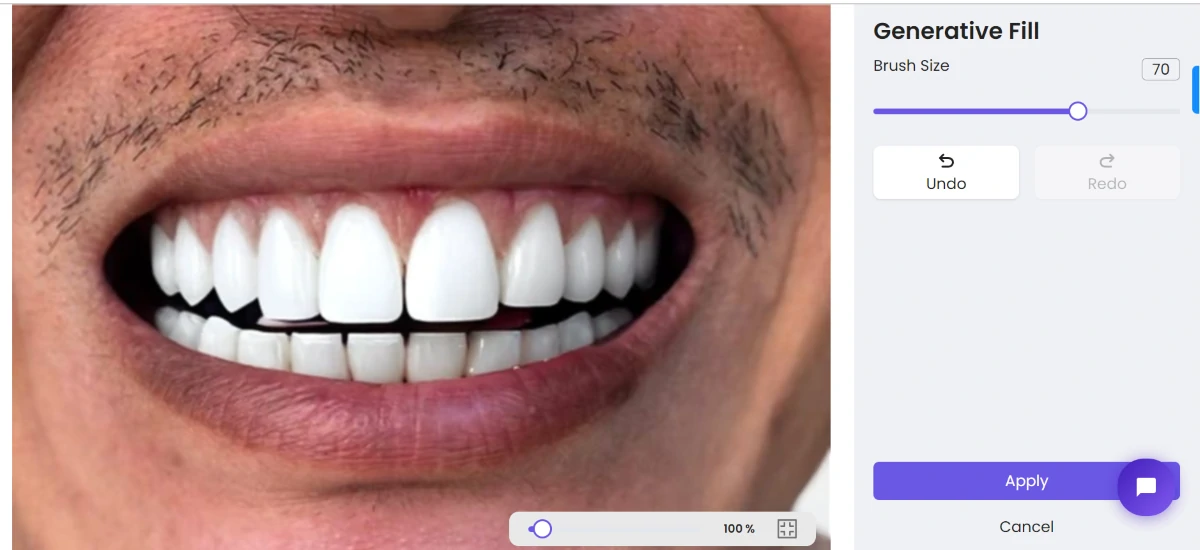
Step 10:
After hitting the “Apply” button, the page reverts to the original work space, where we can download it right away or do some follow up edits and finishing touches to other ports of the image.
Since we want to whiten the teeth and have achieved that, we will call it a day and download the image.
Here’s our final results:
Side-by-side Comparison:

Other Features of ZMO Photo Editor
Aside from the generative fill capacity of ZMO, the photo editor boasts a myriad of additional features that contribute to its versatility and user-friendly functionality:
1. Advanced Retouching Tools:
ZMO offers a suite of advanced retouching tools, allowing users to seamlessly refine details, eliminate imperfections, and enhance overall photo quality.
2. Change Background with AI Prompt:
Utilise AI prompts for an intelligent and automated background transformation.
3. Remove Background Instantly:
Effortlessly remove the background from your image, instantly and automatically.
4. Image Resize:
Resize your image with precision to the desired dimensions without the need for manual adjustments.
5. Magic Remover:
Employ ZMO’s magic remover tool to easily eliminate unwanted elements from your image.
6. Generative Fill:
Replace elements within your photo using the innovative Generative Fill feature.
7. AI Model:
Elevate your product’s visuals with ZMO’s free AI fashion model generator, leveraging advanced AI models for enhanced quality and presentation.
8. Cross-Platform Compatibility:
ZMO is designed for convenience, offering cross-platform compatibility to ensure a consistent and seamless editing experience, whether on desktop or mobile devices.
These additional features collectively contribute to ZMO’s reputation as a comprehensive and sophisticated photo editing solution.
Final Thoughts
Teeth-whitening in photos has been revolutionized by advanced editing software like PhotoDirector and ZMO. PhotoDirector’s user-friendly interface ensures a natural look, while ZMO offers cutting-edge features like AI prompts and generative fill for comprehensive refinement. ZMO empowers users to effortlessly enhance their images, demonstrating the transformative capabilities of modern photo editing tools for creating visually striking compositions.
Frequently Asked Questions (FAQ’s)
1. Can I use PhotoDirector on my mobile device?
Yes, PhotoDirector is available for Android and iOS. Download the app for free, enabling convenient teeth-whitening and photo editing on the go.
2. What makes ZMO stand out from other photo editors?
ZMO goes beyond teeth-whitening, offering advanced features like AI prompts, Generative Fill, and an AI fashion model generator, ensuring a comprehensive and versatile photo editing experience.
3. Is ZMO compatible with different devices?
Absolutely, ZMO provides cross-platform compatibility, ensuring a seamless editing experience on both desktop and mobile devices. Edit your photos effortlessly, regardless of the platform you choose.
